Understand the full pool construction timeline in Florida, from permits and excavation to inspections and final startup.
Imagine transforming your Florida backyard into a private oasis-without the frustration of endless delays. Dreaming of a custom pool? Florida's strict regulations, humid climate, and sandy soils demand a precise timeline to avoid costly setbacks.
This guide breaks it down: from planning and permits (Weeks 1-8) through excavation, installation, finishing, and final testing-spanning 4-6 months. Discover what to expect at each phase and ensure your project swims smoothly.
Florida pool construction typically spans 4-6 months from consultation to first swim, with permitting delays averaging 4-6 weeks per Florida DBPR data. This timeline covers seven key phases for a standard inground pool project. Each phase includes specific week ranges and milestones to help homeowners plan ahead.
Phase 1 (weeks 1-2): Design consultation and soil testing ensure site suitability. Phase 2 (weeks 3-8): Permitting and approvals handle Florida-specific regulations. Phase 3 (weeks 9-10): Excavation and site preparation shape the pool footprint.
Phase 4 (weeks 11-13): Rebar installation and gunite application form the shell. Phase 5 (weeks 14-18): Plumbing rough-in, electrical rough-in, and equipment setup follow. Phase 6 (weeks 19-22): Tile installation, coping, and deck pouring complete finishes.
Phase 7 (weeks 23-24): Startup process, inspections, and punch list finalize the build. A Gantt chart example below shows the critical path, highlighting overlaps in rough-ins and finishes. Reference the 2023 Florida Building Code Chapter 45 for pool standards.
Imagine a sample Gantt chart with bars for each phase: permitting as the longest early bar, excavation short and sequential, gunite critical with no float time, decking overlapping startup. For a 15x30ft gunite pool, expect an average cost timeline of $80K-$150K, spread across materials, labor, and delays.
Florida requires CPC-licensed contractors (DBPR verified) and compliance with 2023 Florida Building Code Chapter 45 for pools, including 4ft barrier fencing. These rules ensure safety and durability, especially for hurricane-resistant pools. Homeowners must verify licenses early to avoid delays.
Key requirements include six main items. First, check CPC license via myfloridalicense.com. Second, install pool barriers with 48in minimum height and self-closing gates.
Third, obtain a structural engineering stamp for plans. Fourth, follow electrical GFCI per NEC 680 for all outlets. Fifth, secure HOA or zoning approval, often taking 30-45 days. Sixth, pass health department plan review for public safety features.
Permitting ChecklistDetailsAverage FeesCPC License VerificationDBPR online checkIncludedPool Barrier Compliance48in fence, self-closing gates$300-$500Structural Engineering StampStamped blueprints$500-$800Electrical GFCI (NEC 680)GFCI-protected circuits$200-$400HOA/Zoning ApprovalLocal review$100-$300Health Dept Plan ReviewSafety plan submission$100-$500
Total average fees run $1,200-$2,500 per county. Use this table as a checklist during your pool design consultation. Experts recommend starting with utility locates and soil testing to support permit applications smoothly.
Professional design phase establishes pool dimensions, features, and engineering compliance using AutoCAD and Pool Studio software (4-week minimum).
Contractors start with site surveys and concept sketches in Week 1 to map out the space. Week 2 brings detailed 3D renderings using Vip3D for visualizing features like an infinity edge or spa attachment. These tools help clients see the final look before any digging begins.
In Week 3, teams prepare engineering plans with a structural stamp to meet Florida codes. Week 4 finalizes blueprints and the contract, locking in details such as a beach entry slope. This phase sets the foundation for smooth inground pool installation.
SoftwareAnnual CostKey FeaturesPool Studio$5K/yrAdvanced modeling, custom shapes, integration with AutoCADVip3D$3K/yrRealistic renderings, lighting simulations, faster processing
Choose software based on project needs, like intricate freeform designs in Pool Studio versus quick visuals in Vip3D.
Geotechnical soil testing identifies Florida's sandy or clay composition, addressing common issues like settlement. Experts use standard methods to evaluate the site. This step prevents problems during later pool construction steps.
The process follows five key assessment steps.
Florida sites often face high water tables or coral rock, requiring special footings. Reference the FDOT soil manual for local guidelines on handling these conditions.
USCS ClassificationTraitsPool Build NotesSP (Poorly graded sand)Loose, drains wellNeeds compaction to avoid shiftingCL (Lean clay)Sticky when wetRequires drainage layersGC (Gravel with clay)Stable baseGood for heavy loads like gunite shells
Match soil type to foundation designs, such as deeper pilings in rocky areas, ensuring compliance with Florida swimming pool regulations.
Permitting averages 4-6 weeks in Florida counties. Delays often occur during the rainy season from June to October. Pool builders submit documents early to stay on track with the overall pool construction timeline.
The process starts with submitting engineered plans to the county. County review takes about two to three weeks. After that, revisions may need one week before final pool permit approval.
Key agencies involved include the County Building Department, Health Department, Zoning Board, and HOA. Each reviews for compliance with Florida pool codes and local rules. Coordinating with all helps avoid setbacks in Florida pool building.
A common documents checklist covers site plan, truss engineering, and barrier detail. These prove the pool meets pool safety features like fencing. Missing items can extend the swimming pool project phases.
In a Miami-Dade case study, a gunite pool gained approval in six weeks. The builder prepared detailed pool engineering plans upfront. This kept the inground pool installation moving smoothly despite reviews.
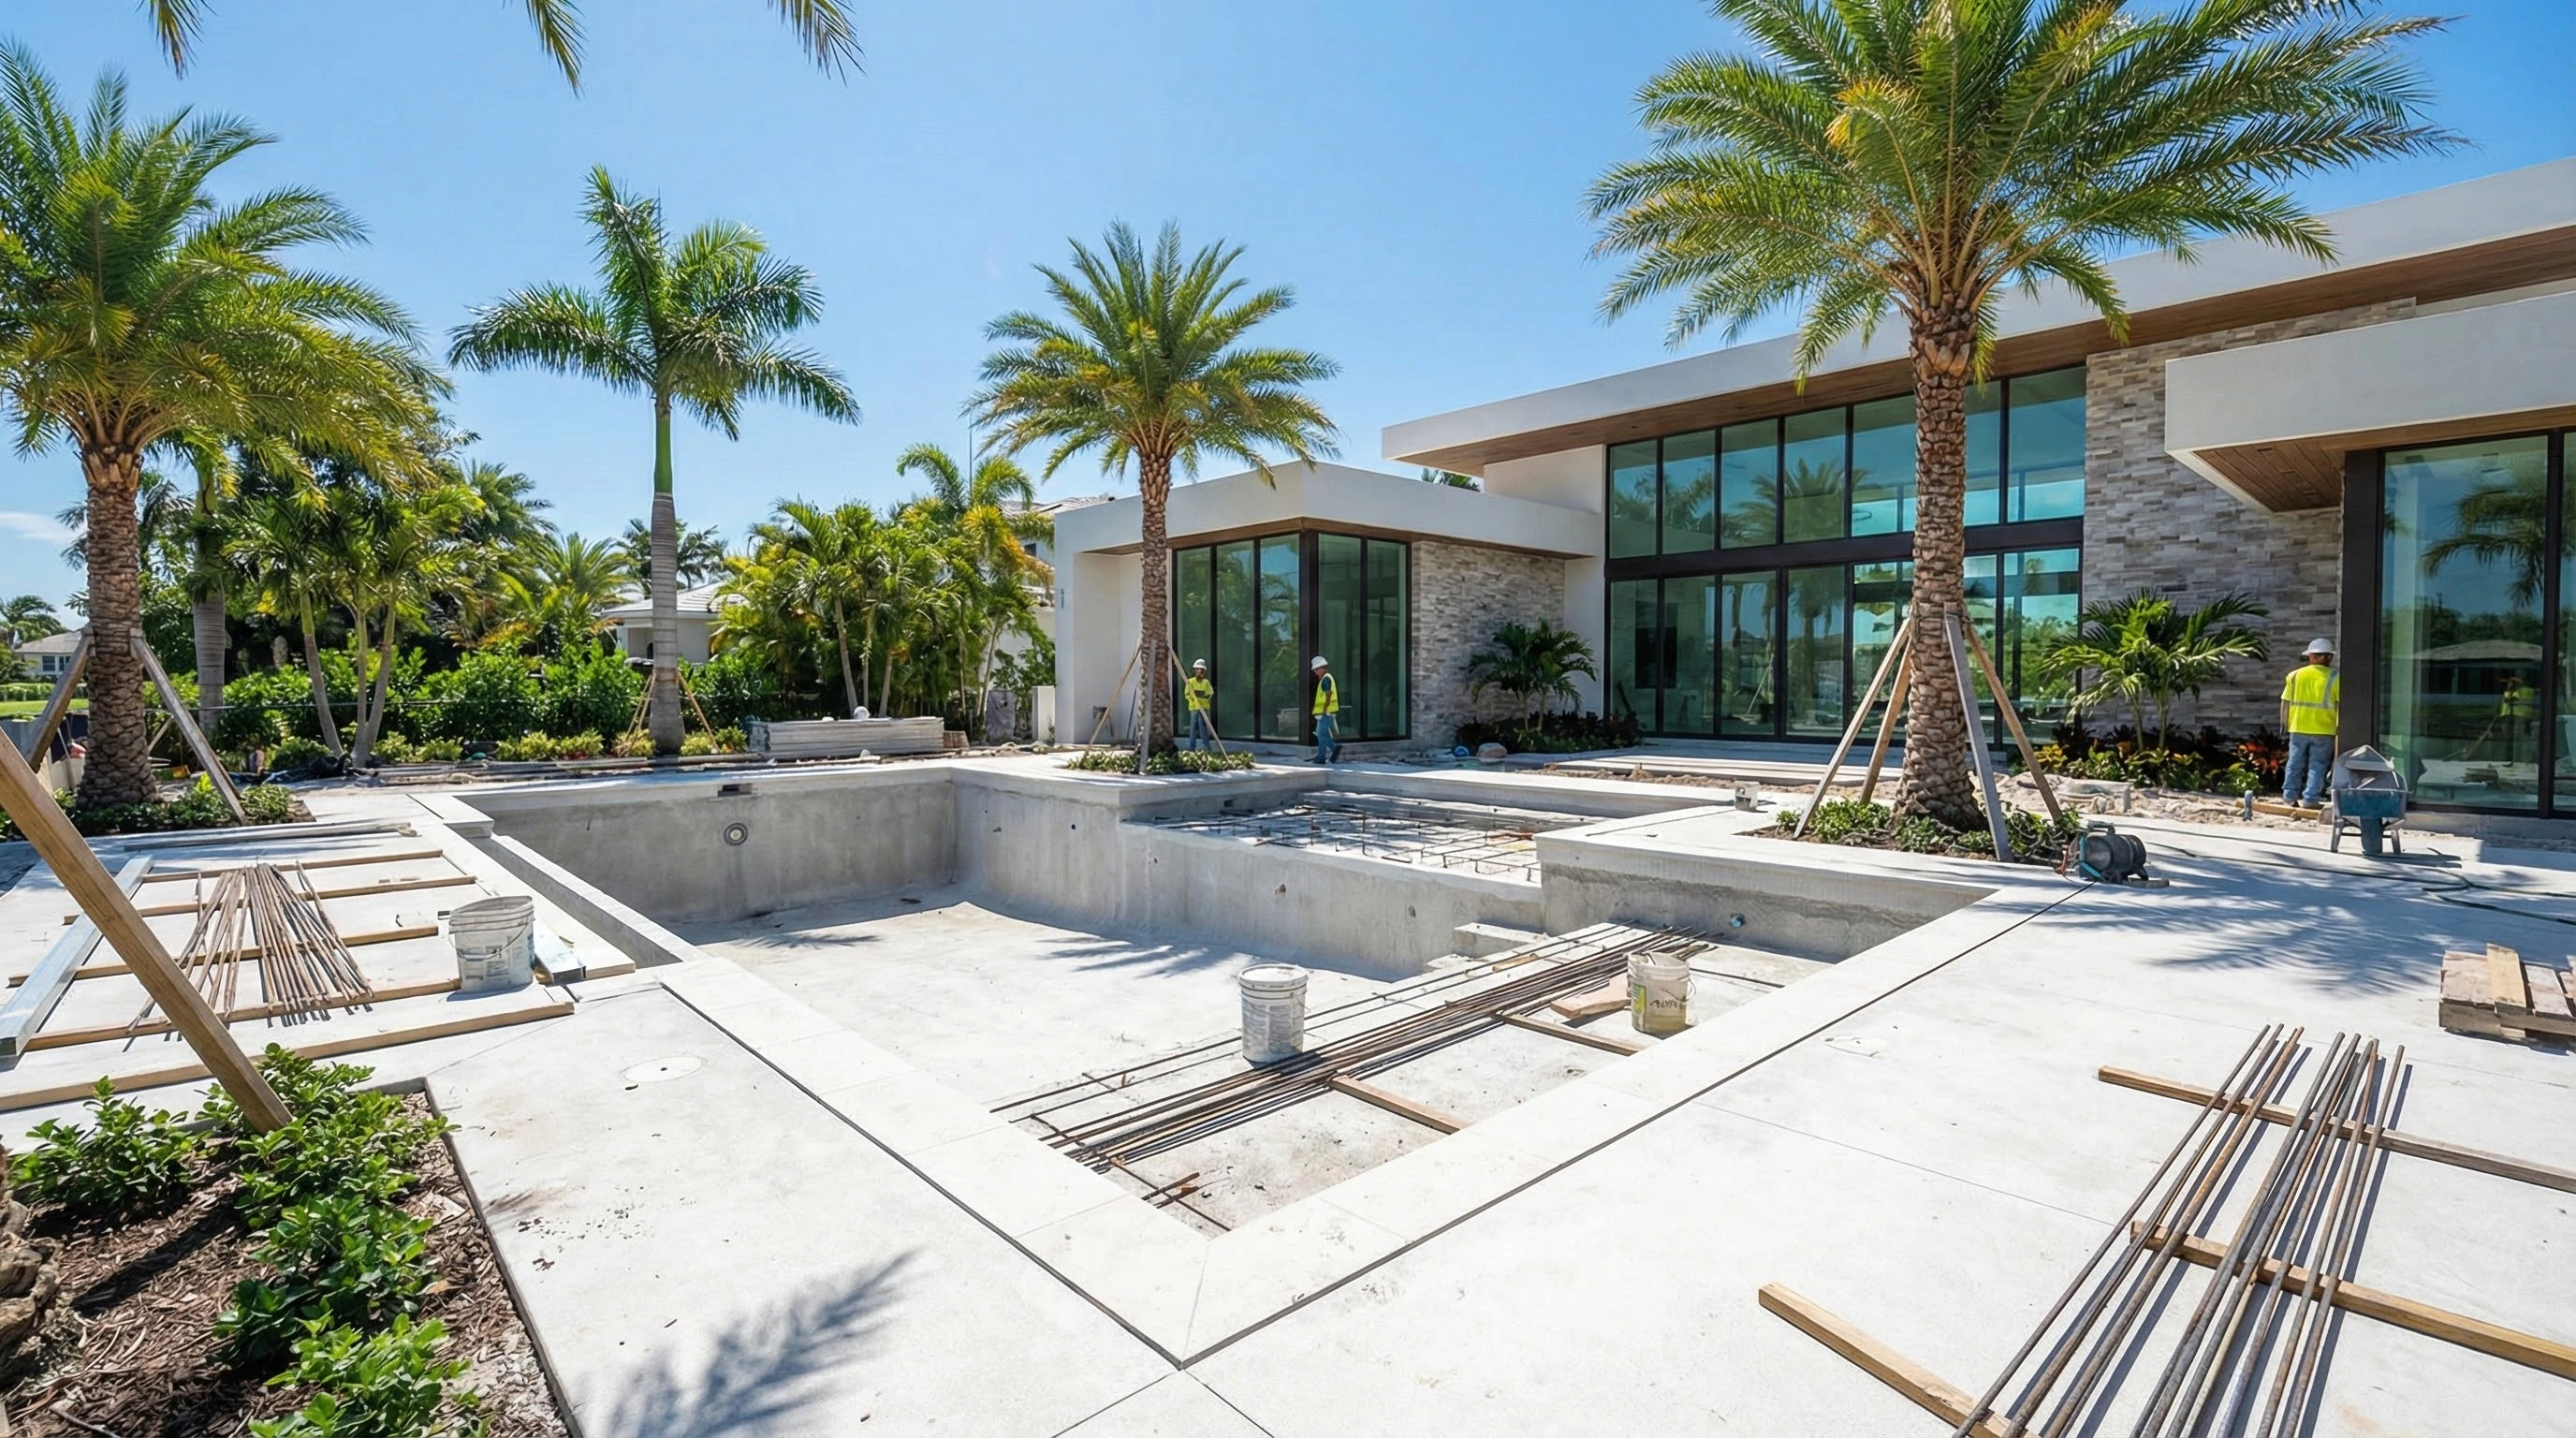
Excavation removes 150-200 cubic yards for a standard 15x30ft pool using a 30-ton excavator over 2-3 days of labor. This phase marks the pool digging phase in your pool construction timeline. Contractors follow a precise 5-step process to ensure accuracy.
First, they mark the pool outline with batter boards and string lines. Next comes rough excavation, digging about 6 inches deeper than needed. This allows room for adjustments during later steps.
Utility exposes follow to check for hidden lines. Then, a precision dig uses laser levels for exact depth and shape. Finally, compaction reaches 95% Proctor density to create a stable base.
Safety requires shoring trenches deeper than 5ft per OSHA 1926.652 guidelines. Florida's rainy season often causes delays, as shown in the table below.
Rain EventTypical Setback1 day rain2 day setbackHeavy storm3-5 day setbackProlonged wet week1 week setback
These steps prepare the site for rebar installation and gunite application in later swimming pool project phases.
Mandatory 811 utility locate service, which is free with a 48-hour response time, helps avoid strikes on underground lines. This step is critical in Florida pool building to protect electric, gas, water, sewer, and irrigation utilities. Contractors follow a strict procedure to comply with Florida Statute 556.
Call 811 at least 2-3 days prior to excavation. Locators then mark lines with paint flags or stakes. Hand digging within 24 inches of marks ensures no damage occurs.
Accidental hits can lead to fines over $10K per incident, plus repair delays. Always verify marks match site plans. Document everything to protect your pool contractor timeline.
These measures tie into broader pool safety features and Florida swimming pool regulations. Proper utility work prevents setbacks in the inground pool installation process.
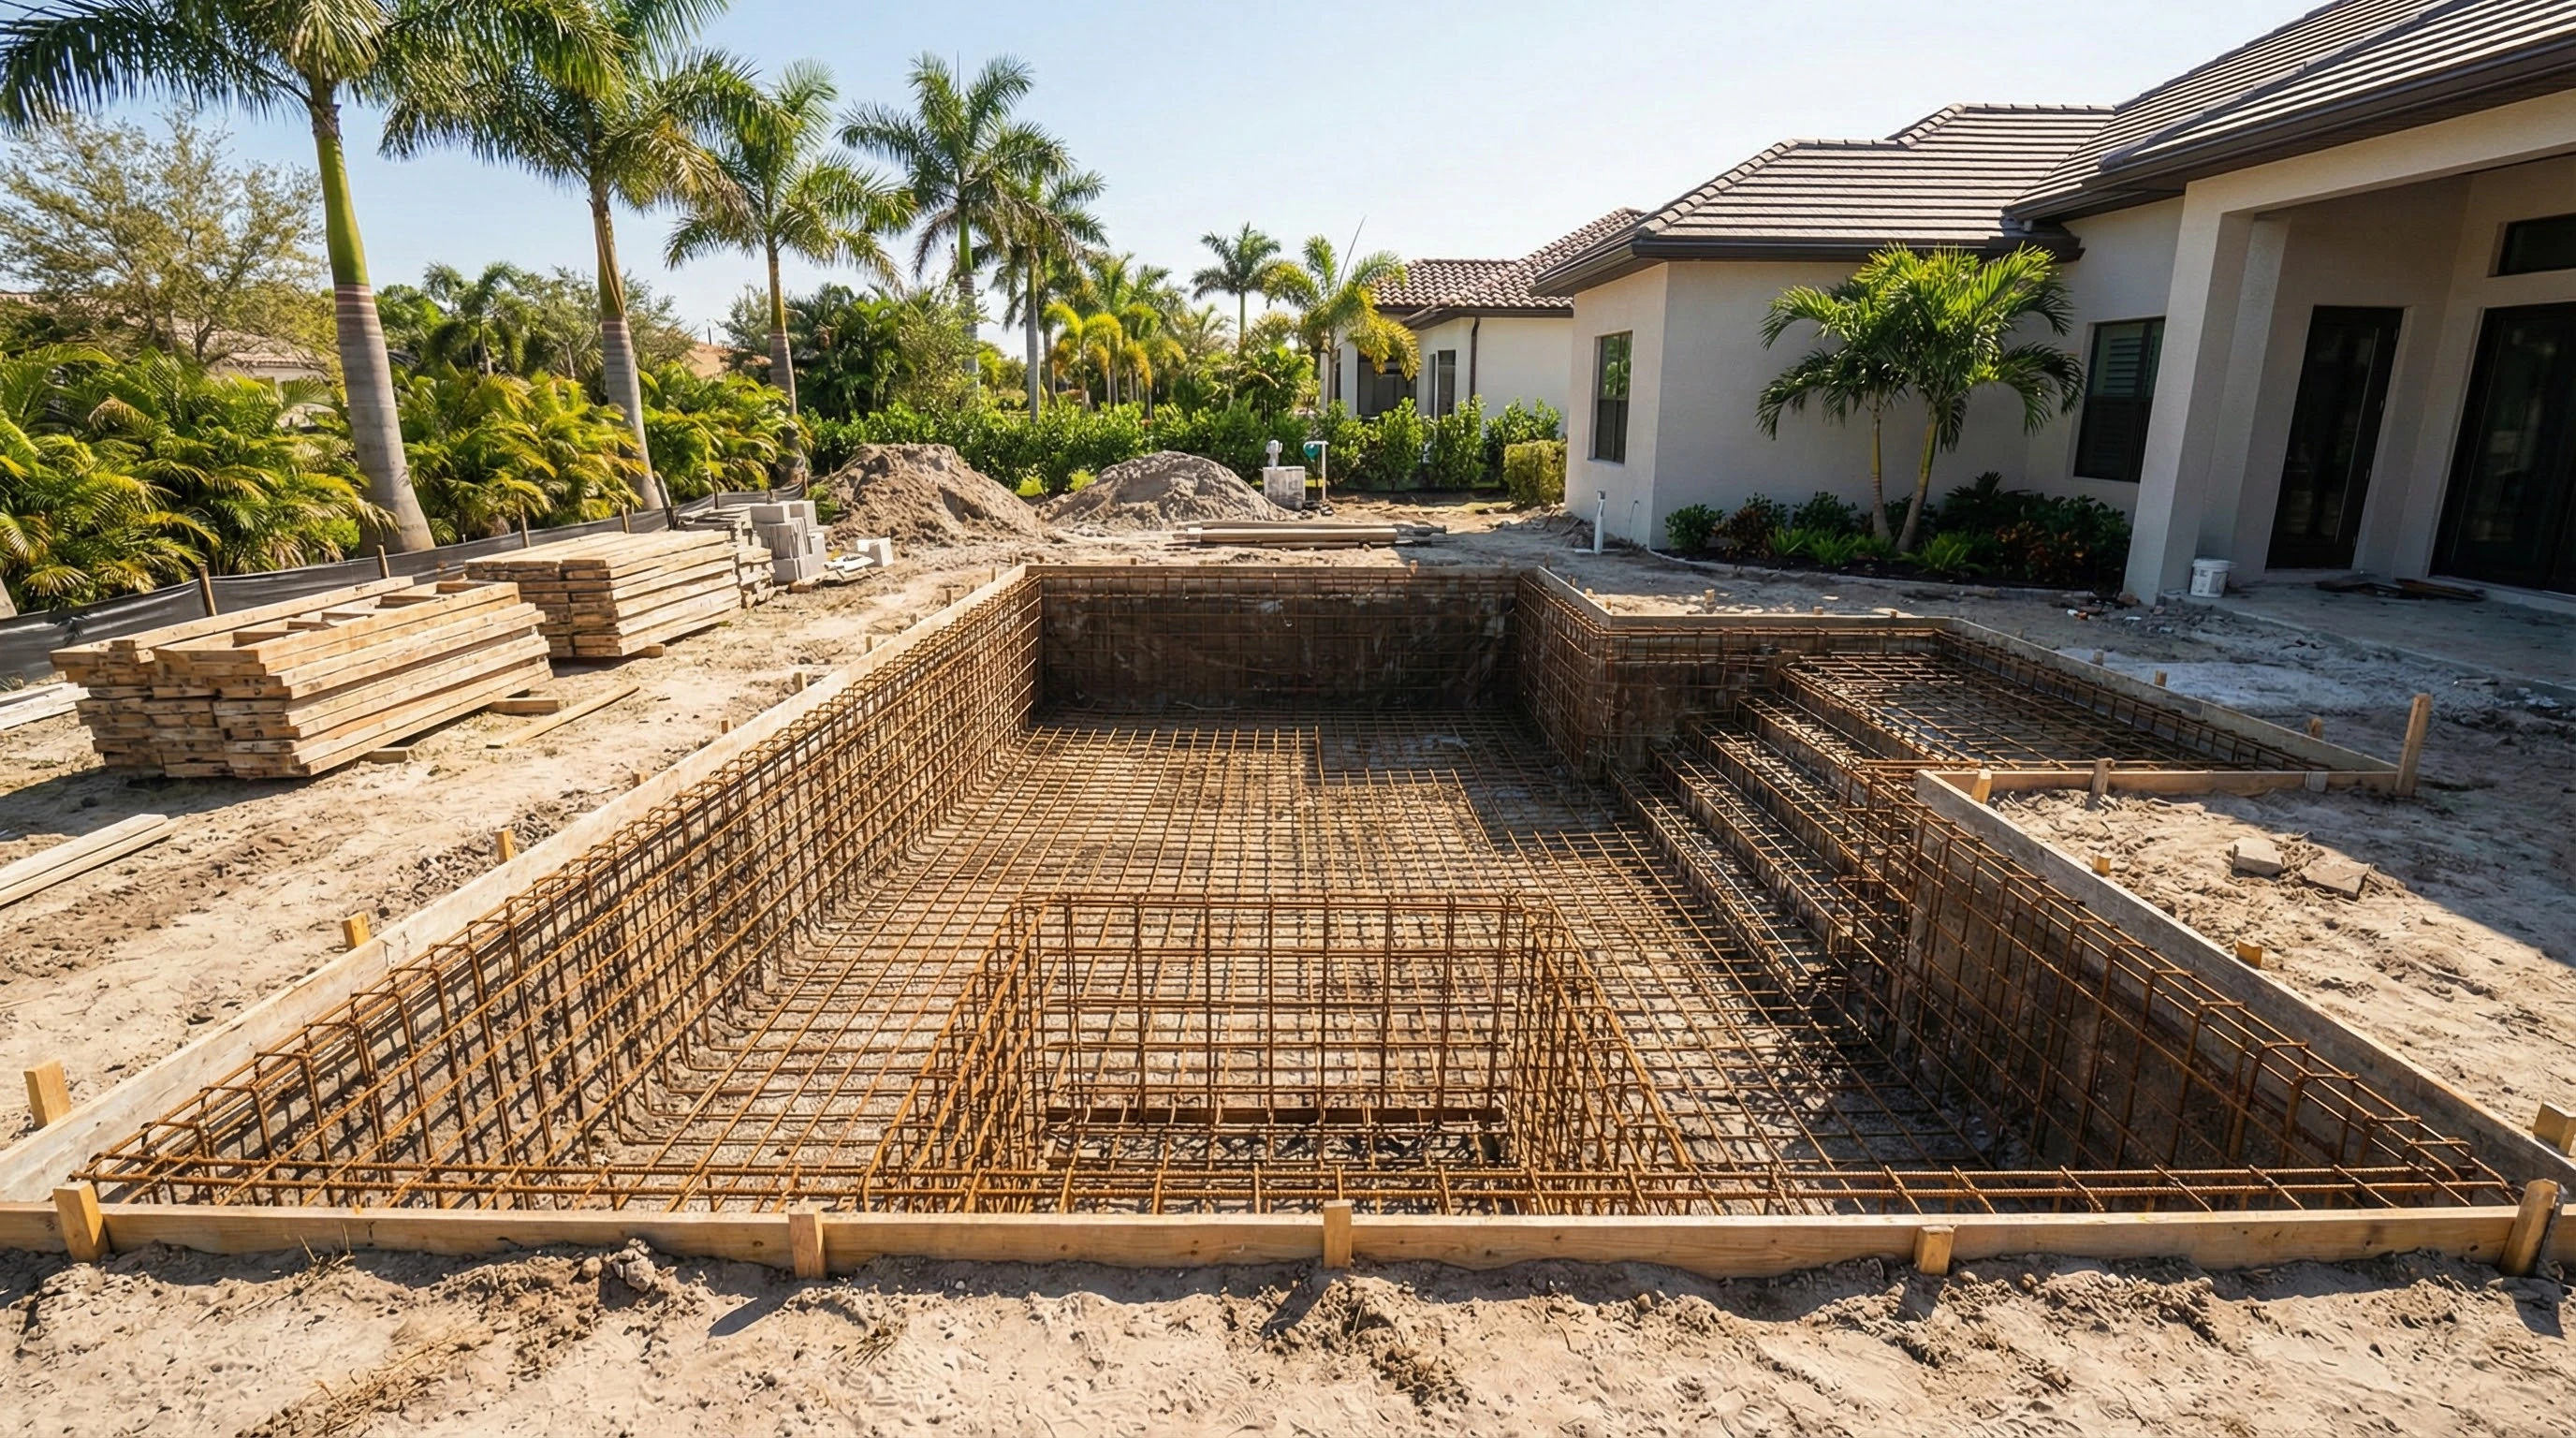
Grade 60 rebar (#4 at 8in OC) forms pool shell per ACI 318, with plumbing rough-in using Schedule 40 PVC. This phase strengthens the structure and sets up water circulation. Contractors schedule it after excavation and formwork settle.
Steel installation spans days 1-3 of the phase. Teams lay the bottom grid first, then erect wall grids, securing everything with tie wire. This rebar installation ensures the pool withstands Florida's soil shifts and hurricane forces.
Plumbing rough-in follows on days 4-5. Workers install the main drain, skimmers, returns, and sweep manifold. These components form the backbone of the pool plumbing rough-in, vital for efficient filtration.
Florida pool codes require a bonding grid using 8AWG copper wire. Inspectors check photo milestones at key steps, like grid completion and pipe tests. This verifies compliance before gunite application.
Rebar spacing follows strict guidelines for pool construction steps. The shell uses #4 rebar at 8 inches on center, while the deck needs #3 at 12 inches on center. These sizes provide tensile strength against ground pressure.
Pool ComponentRebar SizeSpacingShell#48" OCDeck#312" OC
Contractors tie rebar with precise overlaps for steel reinforcement pool integrity. Experts recommend verifying grade 60 certification on site. This prevents cracks in the inground pool installation.
During rainy season, crews protect grids from corrosion. A structural engineer often stamps plans for Florida building permits. Photo documentation captures these pool construction timeline milestones.
The main drain goes at the deepest point for proper drainage. Skimmers mount near the waterline, with returns spaced for even flow. The sweep manifold connects to cleaner lines for automated maintenance.
All pipes use Schedule 40 PVC glued with proper primer. Unions allow future service, and valves control flow in the manifold. Pressure tests confirm no leaks before covering.
In Florida pool building, bonding ties plumbing to the grid for safety. This meets NEC codes and pool safety features requirements. Inspectors review photos to approve progression.
4000psi gunite at 4in min walls, 6in floor applied at 1500psi via 1.5in nozzle marks a 2-day pour in this critical pool construction timeline. Crews use plywood forms to shape the inground pool installation. This phase builds the durable shell for your Florida swimming pool project.
Wall forms go up first, securing steel reinforcement from prior steps. Gunite crews spray the mix with precision for even coverage. The process demands skilled labor to meet Florida pool codes.
Curing follows for seven days under wet conditions to gain strength. Forms strip away after, revealing the solid structure. Expect pool inspection schedule checks here for quality.
ComponentMix DesignCement10 sacks per ydAggregate3/4in
Key inspection points include steel cover and slump test (4in max). Florida wind load forming adds extra bracing for hurricane-resistant pools. These steps ensure the concrete pool schedule stays on track.
Plywood wall forms erect around the excavated shape, braced against Florida's wind loads. They hold the position for gunite application. Proper alignment prevents shifts during the pour.
Crews check rebar installation for coverage before sealing forms. Ties and supports secure everything. This prep sets up a smooth shotcrete pool shell.
Experts recommend verifying form tightness to avoid leaks. Use form release agent for easy stripping later. These details support the overall pool construction duration.
Gunite crews arrive for the intense 2-day pour, nozzle in hand. They build walls and floor in layers for strength. Timing keeps the mix fresh during swimming pool project phases.
The high-pressure spray compacts material against forms and steel. Nozzles stay clean for consistent flow. Watch for even thickness to match design specs.
Coordination with pool contractor timeline avoids delays. Crews work in teams for efficiency. This phase transforms the dig into a pool shape.
After pouring, curing time starts with seven days of wet coverage. Burlap or plastic sheets keep moisture in for proper hardening. Avoid foot traffic during this period.
Forms strip once cured, exposing the raw shell. Inspect for cracks or voids right away. Backfill pool walls follows if needed.
Proper curing boosts durability against Florida's climate. Schedule pool inspection schedule post-strip. This readies for plumbing and finishes in the start to finish pool build.
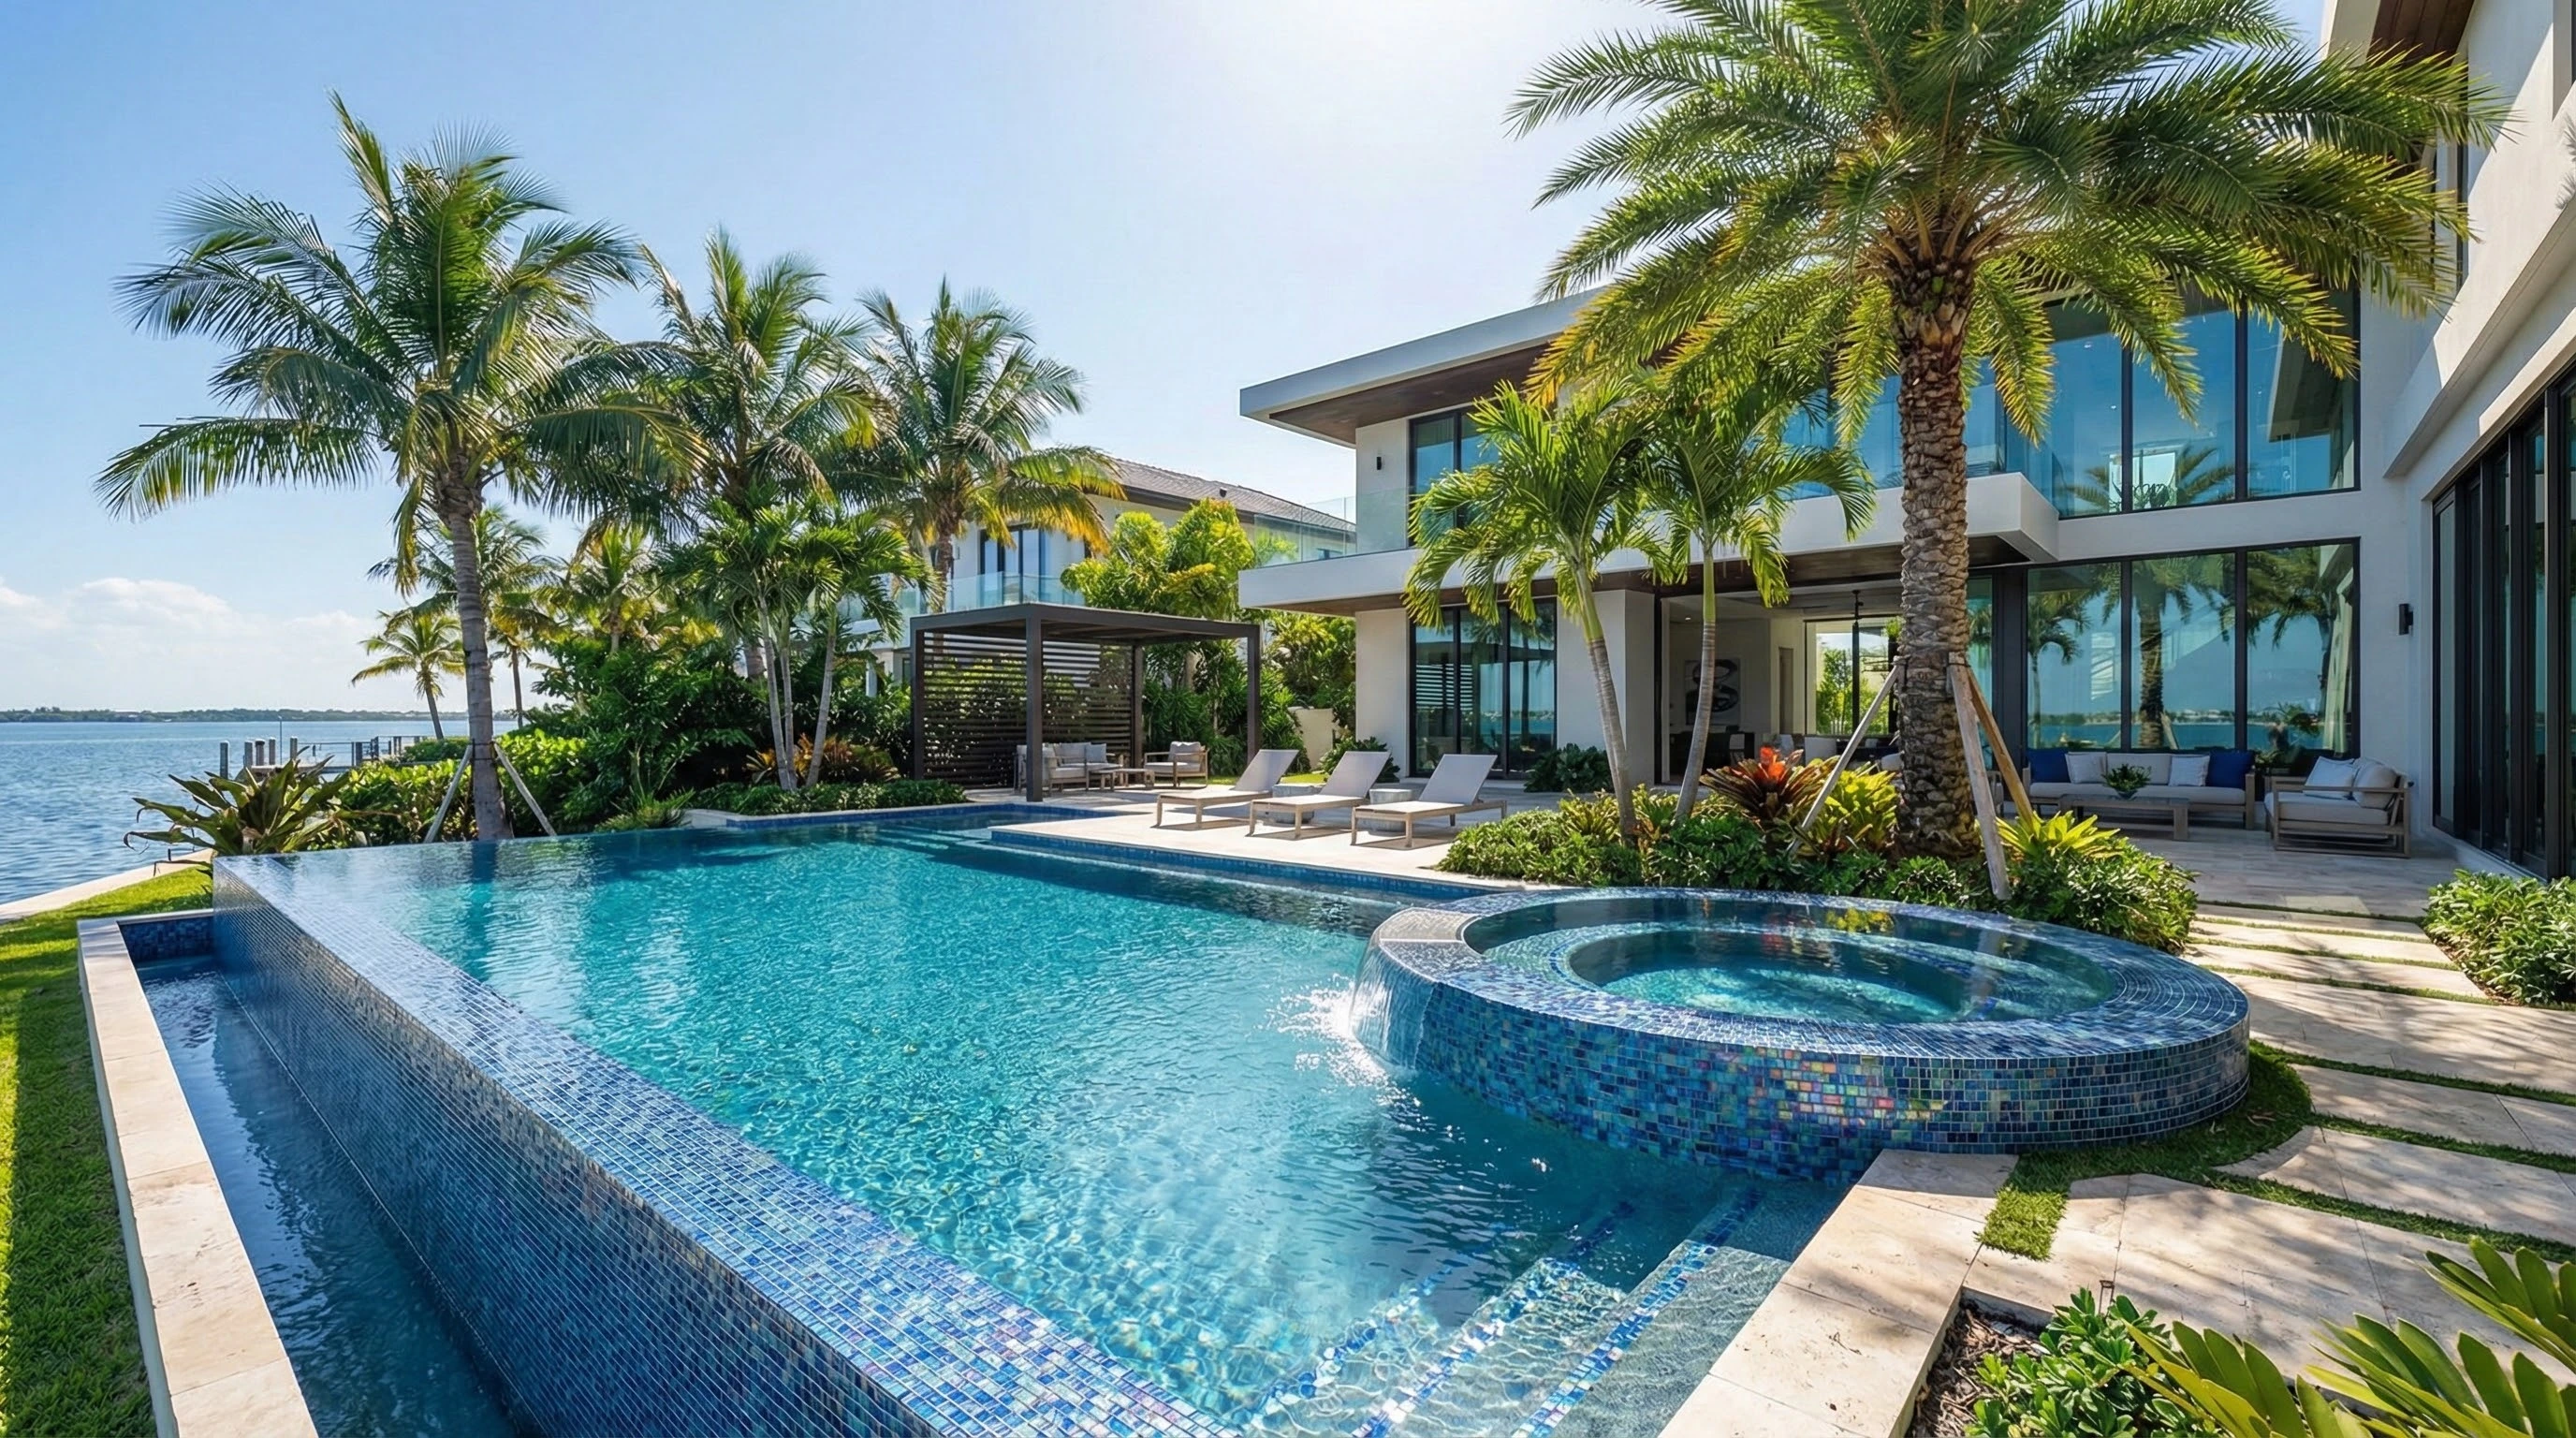
Electrical rough-in with GFCI 20A circuits, tile and coping work begins here, followed by the 4-inch paver or concrete deck pour done concurrently. This phase wraps up the pool construction timeline in Florida, focusing on safety and aesthetics. Crews wire lights, pumps, and heaters while installing finishes.
In week 14, electricians handle rough-in and pool tile installation. Tiles go on walls and floors for a watertight, decorative surface. Compliance with NEC 680 ensures safe operation around water.
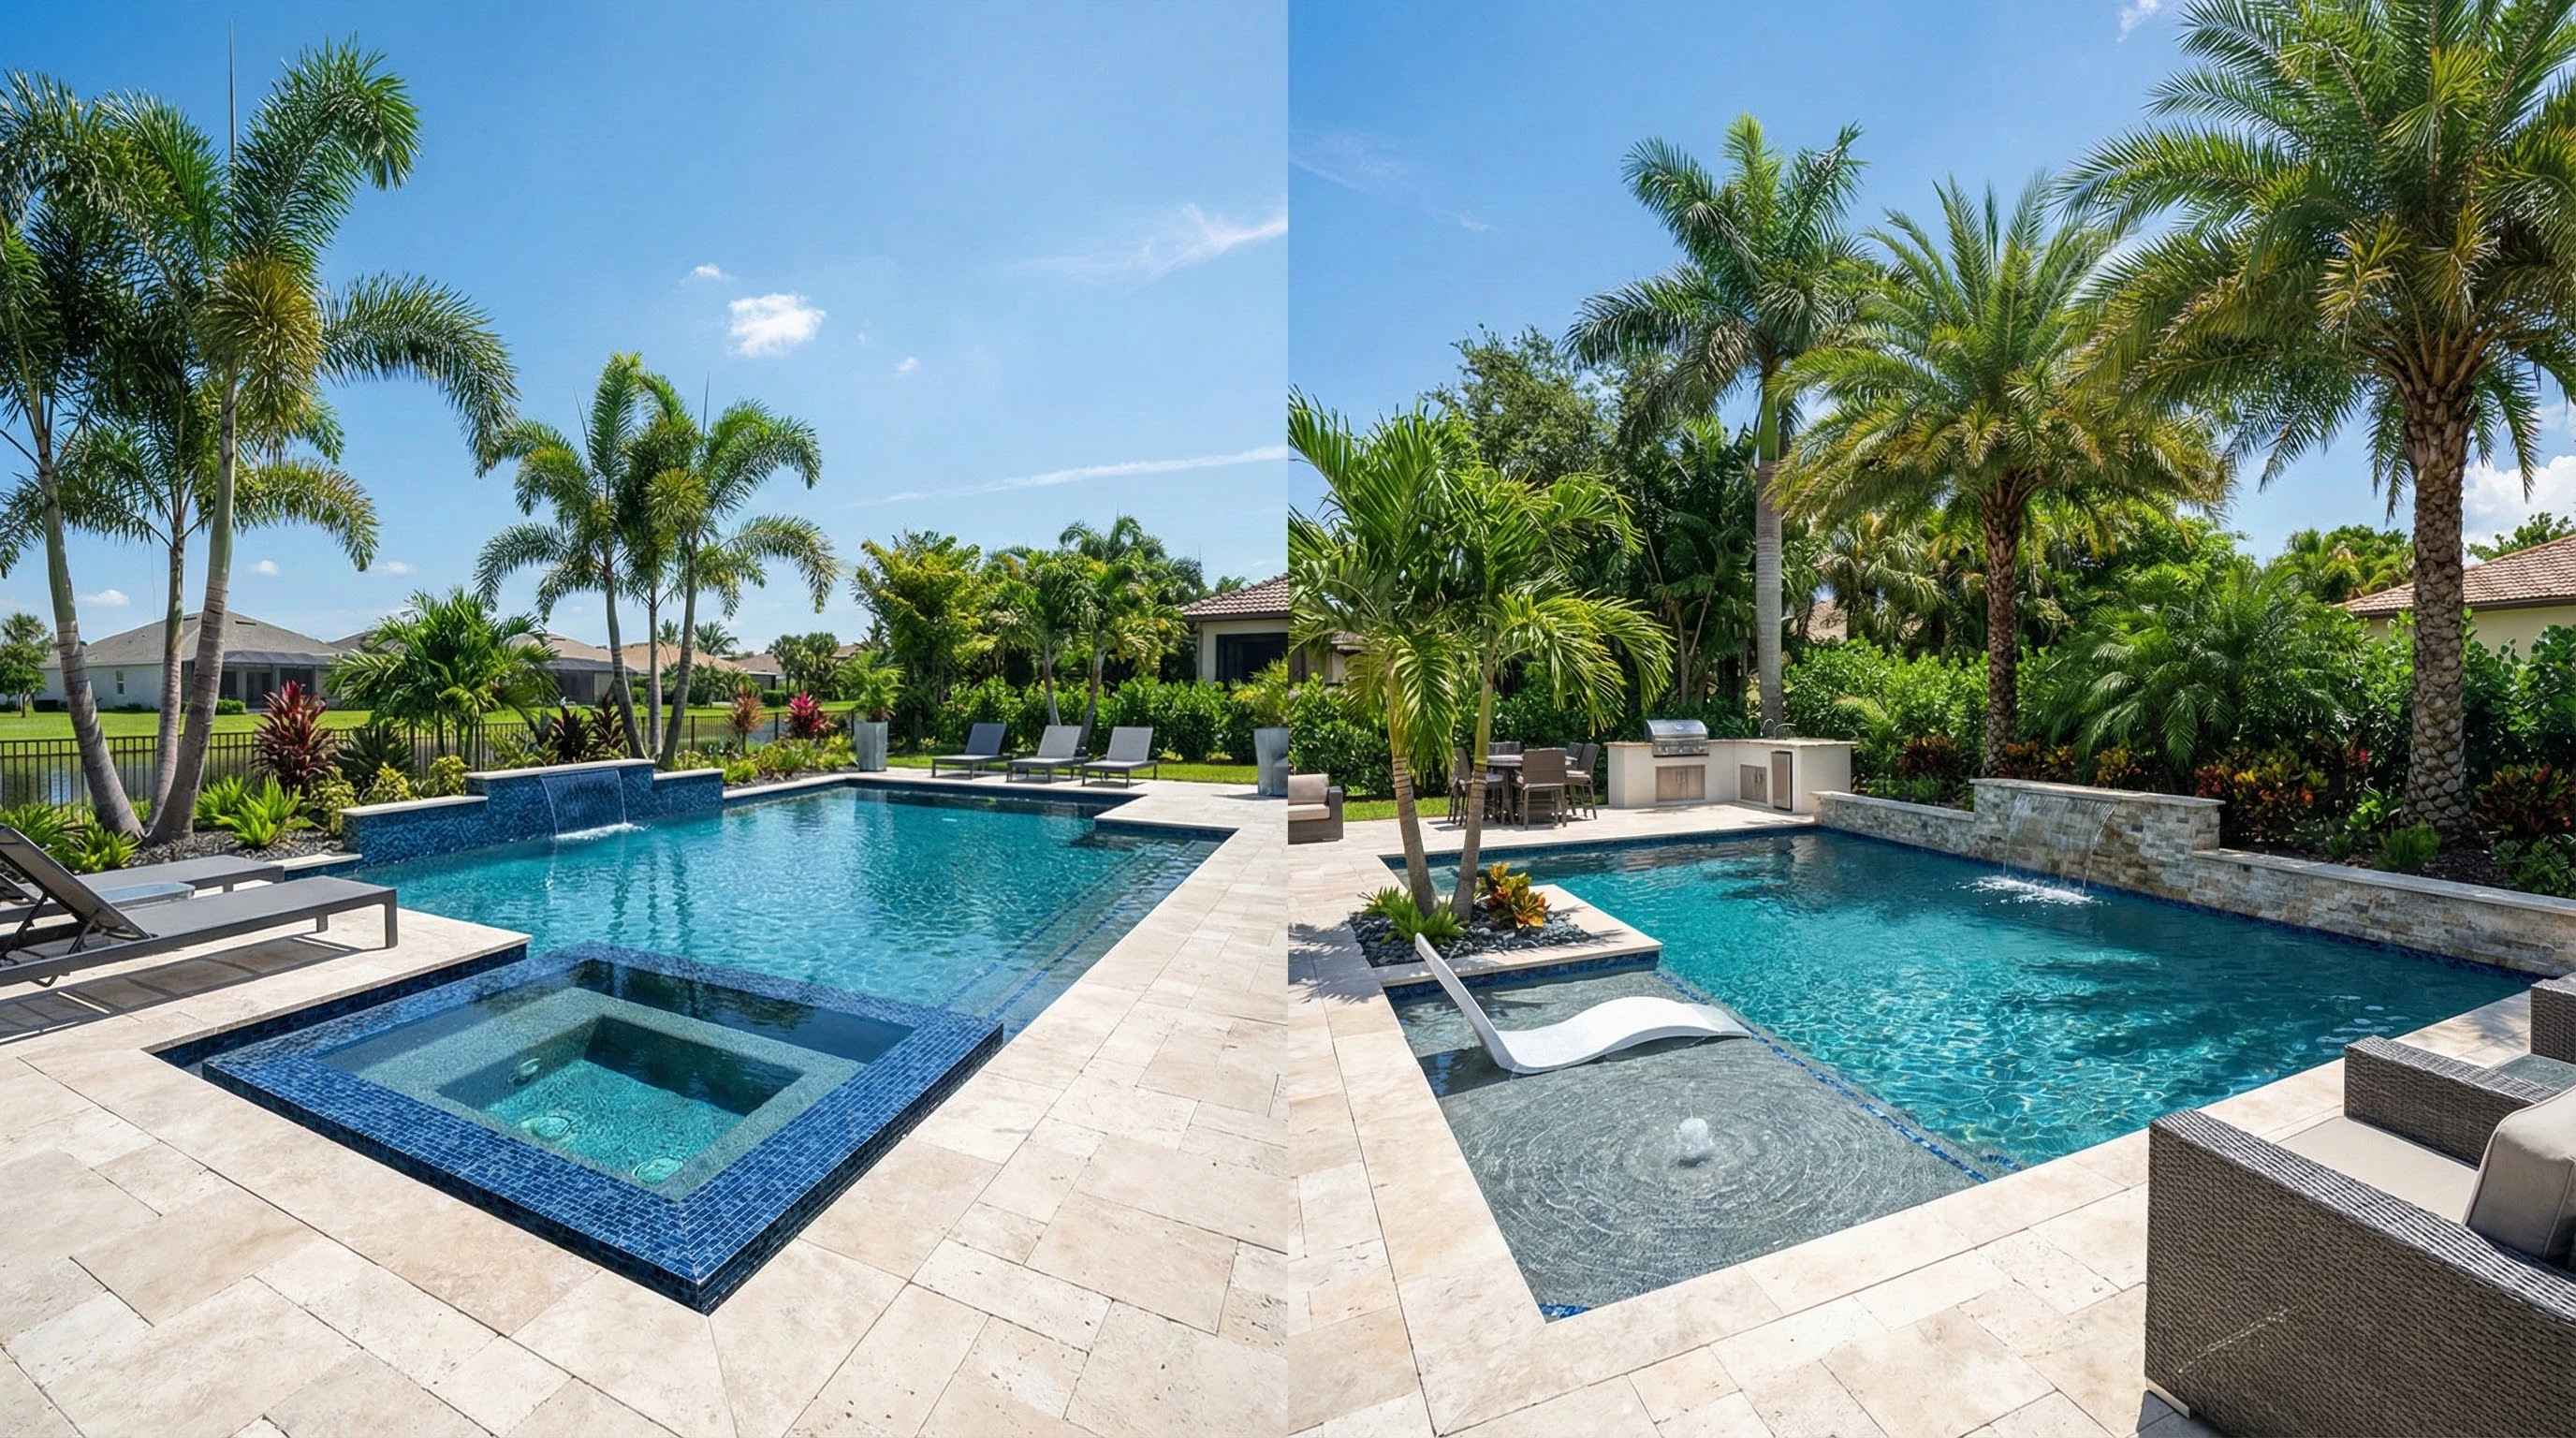
Weeks 15-16 cover coping installation and applying plaster or pebble finish. Coping edges the pool top, using materials like bullnose limestone. The finish, such as quartz aggregate, provides durability and a smooth feel.
During weeks 17-18, the deck pour happens with pavers at 2-3K per square foot, followed by curing. This creates a safe, attractive surround. Expect some downtime for concrete to set before final use.
MaterialDescriptionTypical UseCopingBullnose limestonePool edge protectionFinishQuartz aggregateInterior surfaceDeckPavers 2-3K/sfSurrounding area
Florida mandates 5 inspections: steel, gunite, electrical, deck, final per FBC 105.4. These checks ensure your inground pool installation meets safety standards. Schedule with 24-48 hour notice to avoid delays.
Inspections follow a clear sequence in the pool inspection schedule. First, pre-gunite verifies rebar and plumb lines. Post-gunite inspects the shell for cracks or issues.
InspectionFocus1) Pre-guniteSteel and plumb2) Post-guniteShell integrity3) Rough electricWiring and GFCI4) Deck pourPour and forms5) FinalBarrier and equipment
Rough electrical checks GFCI labeling and bonding grids. Deck inspection confirms rebar spacing and concrete mix. Final review covers barriers, gates, and equipment setup.
Common issues include barrier gates and labeling errors. Fix them promptly to pass. A passed final inspection issues the certificate of occupancy, allowing pool use.
Pentair or Jandy equipment startup marks the final major step in your pool construction timeline. This phase includes a 24-48 hour fill using about 50,000 gallons of city water delivery for an average pool. Contractors handle this carefully to avoid damaging fresh plaster or finishes.
The startup checklist ensures everything works before handover. First, they check equipment wiring for safety and compliance with Florida codes. Next comes filter charging with DE or sand media.
After wiring, a full system test run verifies pumps, heaters, and lights. The pool then fills while monitoring for leaks. Chemical balancing follows to set proper water chemistry.
The phase ends with a detailed walkthrough and the start of the contractor's 30-day warranty. Homeowners learn basic operations during this time. Expect minor adjustments in the first weeks post-fill.
This ordered process minimizes issues during the pool startup process. Contractors often use checklists to stay thorough. It sets the stage for reliable operation from day one.
ParameterTarget RangePurposepH7.2-7.6Prevents corrosion and scaling; keeps water comfortable for skin and eyes.Total Alkalinity (TA)80-120 ppmBuffers pH swings; stabilizes water chemistry post-fill.Calcium Hardness200-400 ppmProtects plaster and equipment from wear in Florida's hard water.Free Chlorine1-3 ppmKills bacteria; add via chlorinator or salt cell for ongoing sanitation.Cyanuric Acid (CYA)30-50 ppmStabilizes chlorine against UV breakdown in sunny Florida climates.
Maintain these levels during the initial chemical balancing pool process. Test water multiple times during filling. Experts recommend daily checks for the first week to catch imbalances early.
Gunite pools average 18-22 weeks from design to startup. Delays often add 4-8 weeks, with weather playing a major role according to industry reports. This sets expectations for your Florida pool building project.
The full pool construction timeline spans site prep, excavation, gunite application, finishes, and pool startup process. Custom features like waterfalls or infinity edges extend the schedule. Plan for inspections at key stages to stay on track.
A Gantt chart summary visualizes phases: design and permits (4-6 weeks), excavation and rebar (2-3 weeks), gunite and plumbing (3-4 weeks), tile and coping (2-3 weeks), deck and equipment (3-4 weeks), startup (1-2 weeks). Overlaps in pool construction steps save time. Track milestones to monitor progress.
PhaseDurationKey TasksDesign & Permits4-6 weeksPool design consultation, Florida building permits, engineering plansExcavation & Rebar2-3 weeksSite preparation pool, pool digging phase, steel reinforcement poolGunite & Rough-ins3-4 weeksGunite application, pool plumbing rough-in, electrical rough-inFinishes & Deck2-3 weeksPool tile installation, coping installation, pool deck pouringEquipment & Startup3-4 weeksPool equipment setup, pool water filling, chemical balancing pool
Rain delays top the list in Florida's wet season. Heavy storms halt excavation and concrete pours, pushing back the inground pool installation. Schedule around weather forecasts.
Subcontractor availability causes setbacks in rebar installation or pool pump installation. Permits from county offices add weeks if paperwork lags. Address these early.
FactorImpactMitigationRainHigh - pauses outdoor workDry season builds, tarps over digsSubcontractorsMedium - scheduling conflictsBook ahead, multiple backupsPermitsMedium - approval waitsFast-track applications, complete docs
Other issues include material delivery times for pebble finishes or HOA approvals. Build in buffer time for your swimming pool project phases.
Fast-track pool permit approval by submitting complete pool engineering plans upfront. Prefab coping speeds coping installation over custom cuts. Use night pours for gunite in hot months.
Choose fiberglass pool timelines for quicker installs than gunite. Coordinate utility locates early to avoid excavation process halts. Select local materials to cut delivery waits.
Dry season from November to May allows 16 weeks for most projects. Less rain means steady pool digging phase and deck work. Experts recommend starting then.
Wet season exceeds 20 weeks due to frequent stops. Hurricane season adds risks for hurricane-resistant pools. Plan indoor tasks like design during rains.
SeasonAvg. DurationPros/ConsDry (Nov-May)16 weeksFewer delays; ideal for finishesWet (Jun-Oct)20+ weeksRain risks; indoor prep focus
Factor in Florida pool codes for pool barrier requirements year-round. Dry builds finish before summer swims.